You just photographed a GORGEOUS wedding—everything about the day was perfect, and you happily filled your memory cards…
But now that you’re home scrolling through the thousands of photos, you kind of wish you weren’t so shutter-happy. How are you going to reduce the number of files down to a manageable gallery?
Trust me, we’ve all been there—culling photos can be one of the MOST time-consuming parts of the photography process. There’s the emotional factor of being attached to images, there’s the technical factor of choosing between images that are quite similar, and there’s the simple fact it takes a long time to scroll through THAT many files.
But, it is possible to significantly reduce the amount of time it takes you to cull. I’ve found three tricks that will cut your culling time in half if you follow them—and personally, I found the time spent culling images reduced 75% since I implemented these methods! I’m no longer as overwhelmed by a wedding gallery, and I can more quickly get to editing.
I hope the following culling methods save you time and help you get back to focusing on other things in life:
Photography Culling Methods to Save You Time
1. Use Positive Selection
The No. 1 biggest gamechanger to save time culling was switching to “positive selection,” instead of narrowing down images by picking rejects. Essentially this method means you’re looking for the BEST images as you scroll through your gallery, rather than selecting the files you want to delete.
There’s some psychology behind this too—basically, the mindset of looking for quality is actually easier emotionally because you’re “keeping” files rather than “throwing away” files. Plus, selecting the keepers from your files will almost always mean you’ve picked fewer, whereas choosing the rejects means selecting more files.
Consider this:
A normal 8-hour elopement I photograph results in about 4,000 images, of which I normally deliver around 400. If I needed to “pick” all the images I wasn’t going to edit, that would be 3,600 clicks vs. 400 (if I only pick the ones I’m planning to edit)—it’s 9x less clicking effort to do positive selection and get the same result.
In addition, picking keepers instead of rejects is a much more intuitive process to a photographer—because it’s the exact mental process you go through while you shoot! During the entire wedding day, you are constantly searching for the “best” way to photograph what’s going on. You effortlessly & intuitively avoid standing in places with poor lighting & angles in favor of the best spot in the room to capture everything. The concept of positive selection while culling is the same—you go through your set of images and ignore the poor & mediocre ones and focus on selecting the BEST—the ones that make you feel “WOW!”
Lastly, picking keepers instead of rejects allows you to not overanalyze and agonize about the images you are rejecting. You don’t have to have a mini “mental funeral” for each photo that you’re not going to edit. When you’re focusing on picking the BEST, there isn’t time for second thoughts or remorse of the images that aren’t getting picked—and you’ll find you arrive at a wonderful selection of the best images from a shoot quicker and feel better about them.
2. Remove Distractions & Set A Timer
My second favorite method for reducing time while culling involves putting myself in the right space to work efficiently—which means no distractions! I know a lot of photographers who like to watch TV while they work, and, while it may feel like the hours pass more easily, they might not pass so efficiently.
Do a test–time yourself to see if you’re more efficient in your standard space or after you make an effort to “quiet” the distractions. You could cull in less than 1/2 the time (I found I could cull in less than 1/4 of the time after implementing the following rules)!
With all that time I saved, I could watch that Netflix episode curled up on the couch with my dog and enjoy it after I was done culling instead!
Skeptical? Try this test—and I’d love to hear your results:
Step 1: Pick a standard-length wedding with an average amount of images for you. Work using your normal culling process & environment (with TV, podcast, in the normal location you cull/edit etc). Start your timer when you begin, and stop it when you’re done. Record the number of images you culled from, and down to, and how long it took.
Step 2: The next time you edit, pick another standard-length wedding with an average amount of images and try this process for culling instead:
- Remove all distractions from your space.
- Turn off the wifi on your computer, put your phone in airplane mode.
- Turn off Netflix or any TV.
- Turn off any music or radio (except white noise or quick-tempo instrumental)
- Close the blinds or turn your desk so you can’t see distractions happening outside a window.
- Find some time & space to be pet free, partner-free, children-free to be 100% focused on your task.
Sit down and focus on culling—nothing else. Start your timer when you begin, and stop it when you’re done. See how fast you can get through a culling task when you’re 100% focused. Record the number of images you culled from, and down to, and how long it took.
I’m not exaggerating–when I did this test for myself I found I could cull in 1/4 the time!
It’s amazing to see the difference in efficiency having a dedicated space to focus. Culling is something that takes 100% of your attention to do efficiently, and not have to go back through images to make sure you make the right selection. I’ve also found it’s super fun to time myself and “race myself” to see how efficient I can be when I focus (a little competition can be good sometimes)!
3. Trust Your Gut & Be Ruthless—The Importance Of Curation
The last step to culling efficiently and saving time takes a bit of practice & confidence to master–but it’s worth it! Not only will this method save you time, it will also improve your client’s experience.
I know a lot of photographers who equate how well they’ve done their job with how many images they deliver–they believe a client will be happier with more (ie. quantity over quality). But I’ve actually found the opposite to be true for many reasons. Remember that a client will only ever see what you deliver–you’re the only person mourning photos that get culled from the final gallery.
Consider this: How would you respond if someone took your photos and when you looked at the gallery they delivered, you adored every single image? Imagine looking at every moment and seeing your best self in the most flattering lighting & pose, and you’re just AMAZED that is how your wedding day was captured! How good would you feel about yourself? How talented would you think your photographer was?
Now consider looking at that same set of images, but it’s 3x as long—those BEST images of you are still there, but they are “watered down” by the additional captures that are good but not jaw-dropping perfect. In these other “not quite as good” images you may have noticed things you didn’t particularly love about yourself due to the angle they were photographed. Maybe it’s something little due to the lighting or pose, but you still notice. The same number of “great” shots are still there, but instead of loving ALL your images, you only loved about 1/3 of them. Do you think you would feel just as good about yourself looking at this set? Would you think the photographer you picked was just as good at showcasing your best side?
Curation is important. Culling a set of images down to the very best is just as important of a process as taking the actual photos. It may seem like more of an “active” choice to not include certain images when culling—but remember that even when you’re taking the actual photos, you’re actively “curating” each moment already. Every time you take an image you’re actively choosing to not take another one. There are infinite moments happening consecutively at every shoot & event––documenting them takes trusting your instinct to take the “best” shot.
If you’re a wedding photographer, your client has hired you because they trust you to “live cull” their wedding day by choosing what moments to document and also which ones not to—they trust you to put them in the “best light,” and this trust promise continues in your culling process.
It’s easy to get caught up in “Well, what if they like this other image better?” or “How do I know which one of these is a better shot?”
Always go with your gut.
You were there, and based on your connection & relationship with your client, you instinctively know that “that” is their real smile—that in “this” moment, they were the most relaxed and having the best time. You know that “that” moment is when they were connecting the deepest with each other.
Don’t overthink it—you know which images they will love the most.
A point for clarity: Curating an AMAZING gallery obviously doesn’t mean to only include 10 “hero” shots when you deliver a wedding day—of course, it’s important to include all the important moments of the day and to thoroughly tell the whole story.
Curating a jaw-dropping gallery means that if there are several nearly identical images of basically the same moment, only include the very best 1-2. Do your client a favor and showcase their best side—put them in the “best light”—and remember how happy they’ll be and how good they’ll feel about themselves if every single image they receive of themselves looks amazing.
No matter what number you cull down to, there will be the same number of “amazing shots”—so don’t water those down. You’re not doing anyone any favors by including the poor or mediocre. There is no perfect “minimum” number of photos to deliver from a wedding, so trust your gut & deliver the gallery YOU would want to receive!
Now that you’ve created a BOMB culling system—it’s time to EDIT!
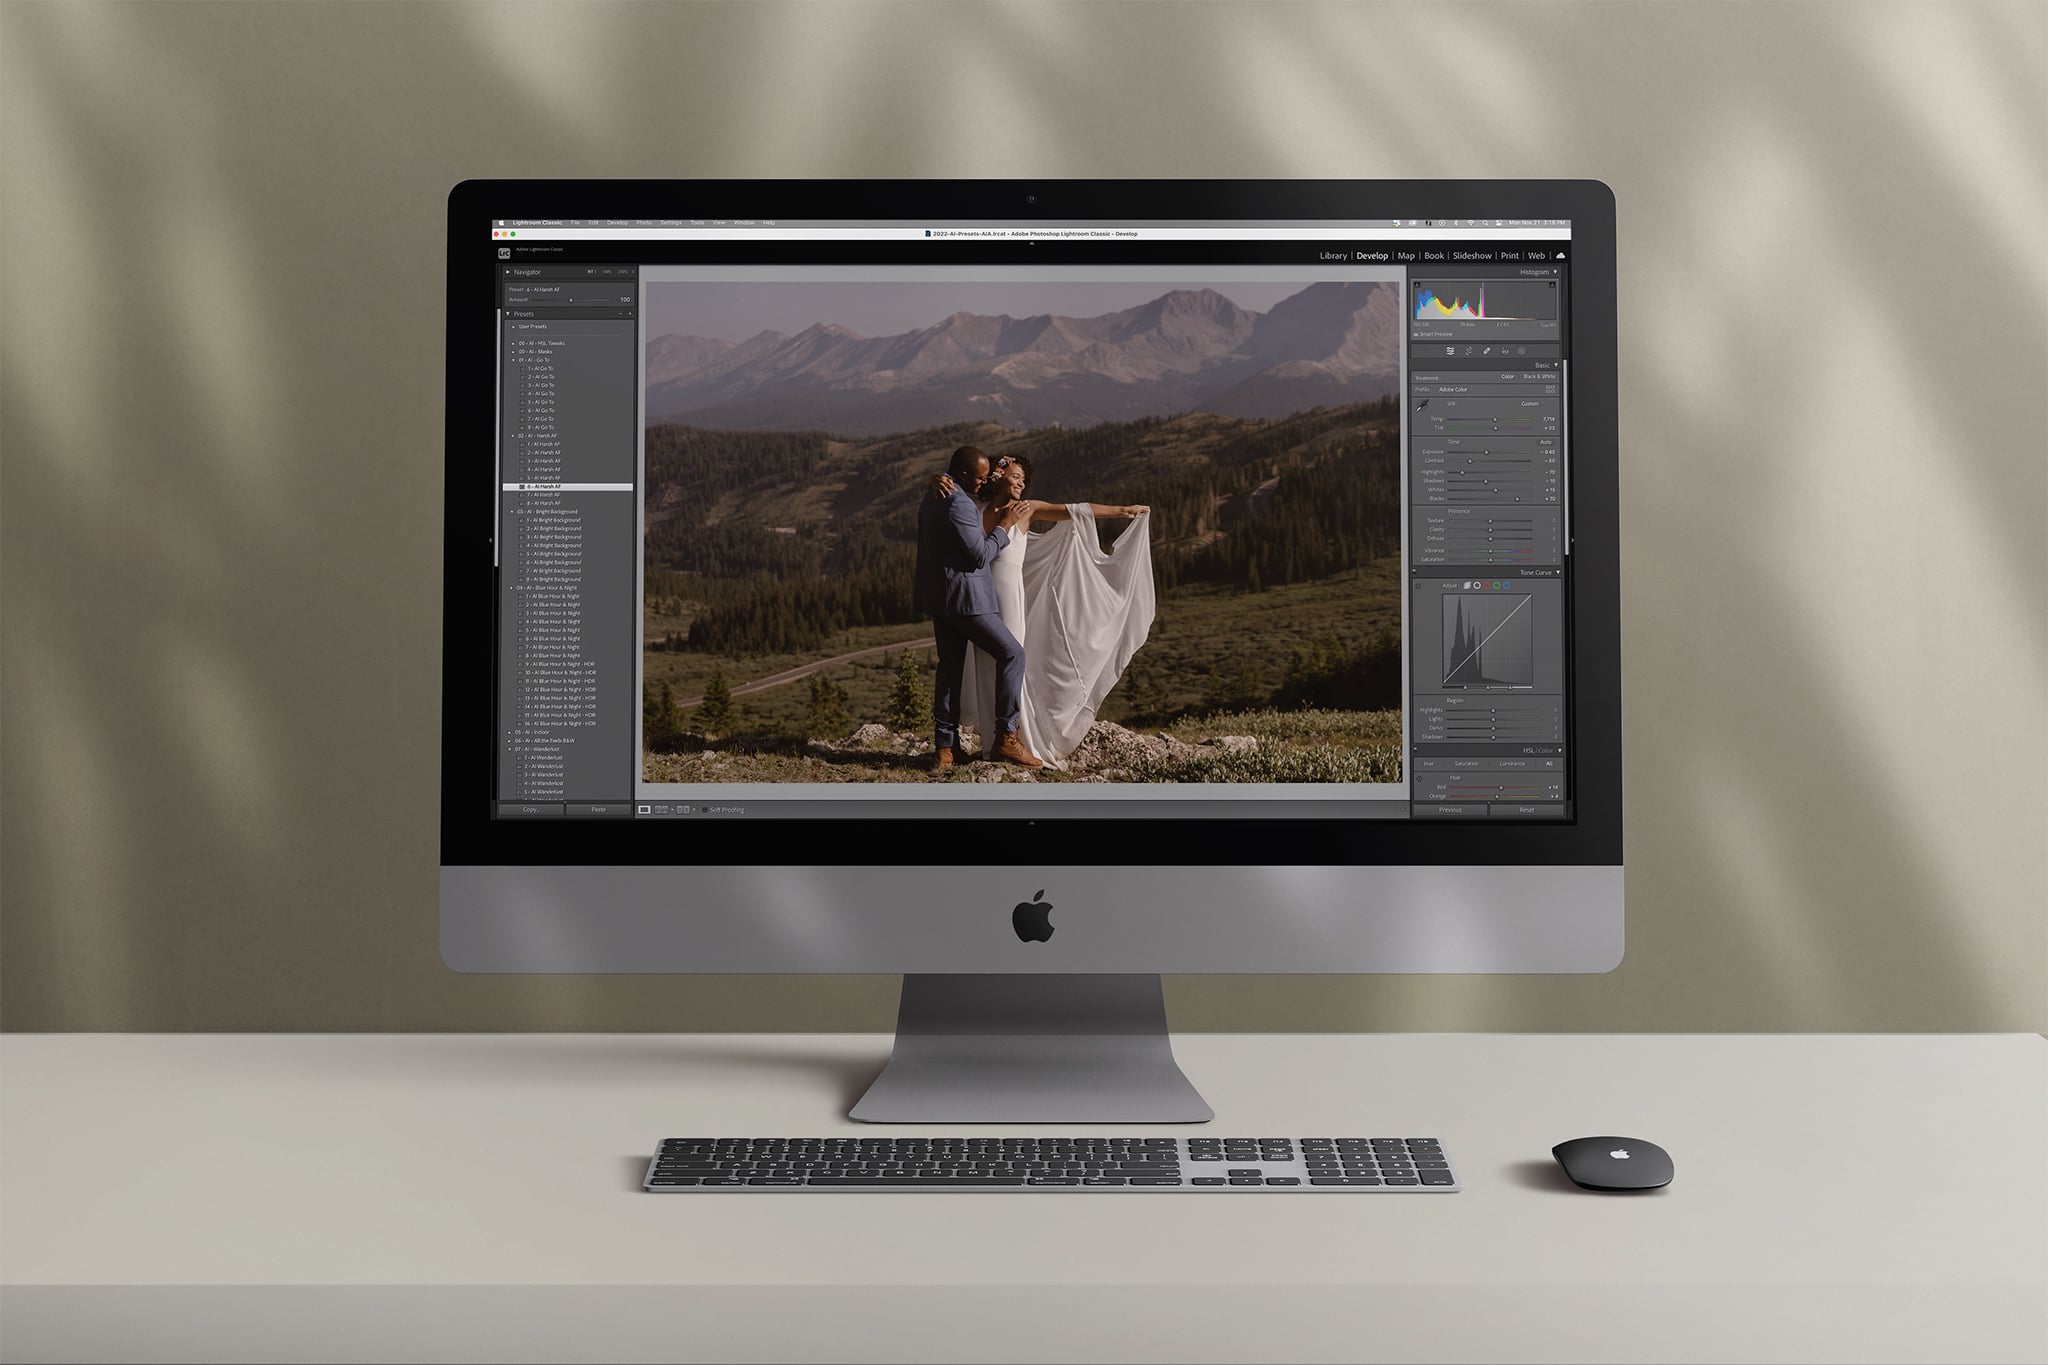
You have only the best of the best images from your client’s big day—now it’s time to turn them into color-perfected, beautifully-edited photos. But, do you feel like editing sucks all your time? Are you frustrated that you can’t quite get your images to look and feel as you want them to? I built my presets and editing workshop to help photographers tackle every difficult lighting scenario and learn Lightroom in-depth so they can develop a unique style they love. Learn more about the workshop and presets by clicking HERE.


