Have you ever struggled to get the skin tones from images in different lighting conditions to look consistent? Have you ever found yourself, after editing an entire wedding straight through, needing to go back to the first images you edited and tweak them?
One of the great challenges of editing (especially full wedding days) is getting consistent skin tones no matter the lighting conditions—which change frequently throughout the course of a day.
Sunrise, sunset, mid-day, indoor, and dusk all have different color temperatures of light—which affects the white balance you need to use to adjust for it—as well as the undertones in the shadows captured in the image. This can make it difficult to get the same person’s skin to look the same at different times of day throughout the wedding.
So how do you make sure you get consistent skin tones throughout a whole image set?
Well, there’s a great LR hack that is incredibly helpful—use a reference photo!
What’s a Reference Photo:
A reference photo is the best way to make sure you get consistent skin tones throughout a day of shooting. It’s an image that’s representative of the skin tones you’re trying to achieve throughout your whole set of images—you use it to visually “match” the skin tones of each image, as you continually refer back to while you edit—in the aim of achieving consistency.
How to pick a good reference photo:
Pick a representative image from one of the best/most ideal lighting times of day—a portrait that you like and are very happy with your edit of the skin tones. Ideally, this image has fairly nice even light on the skin—not a unique super dramatic lighting situation with harsh shadows or highlights on people’s faces.
Make sure the faces/skin tones of the main subject(s) are a decent size part of the image—i.e. don’t use an extremely far-away image.
Do you have your reference photo selected? Here’s how to use it in LR as a tool for consistency.
How to set a “Reference Photo”
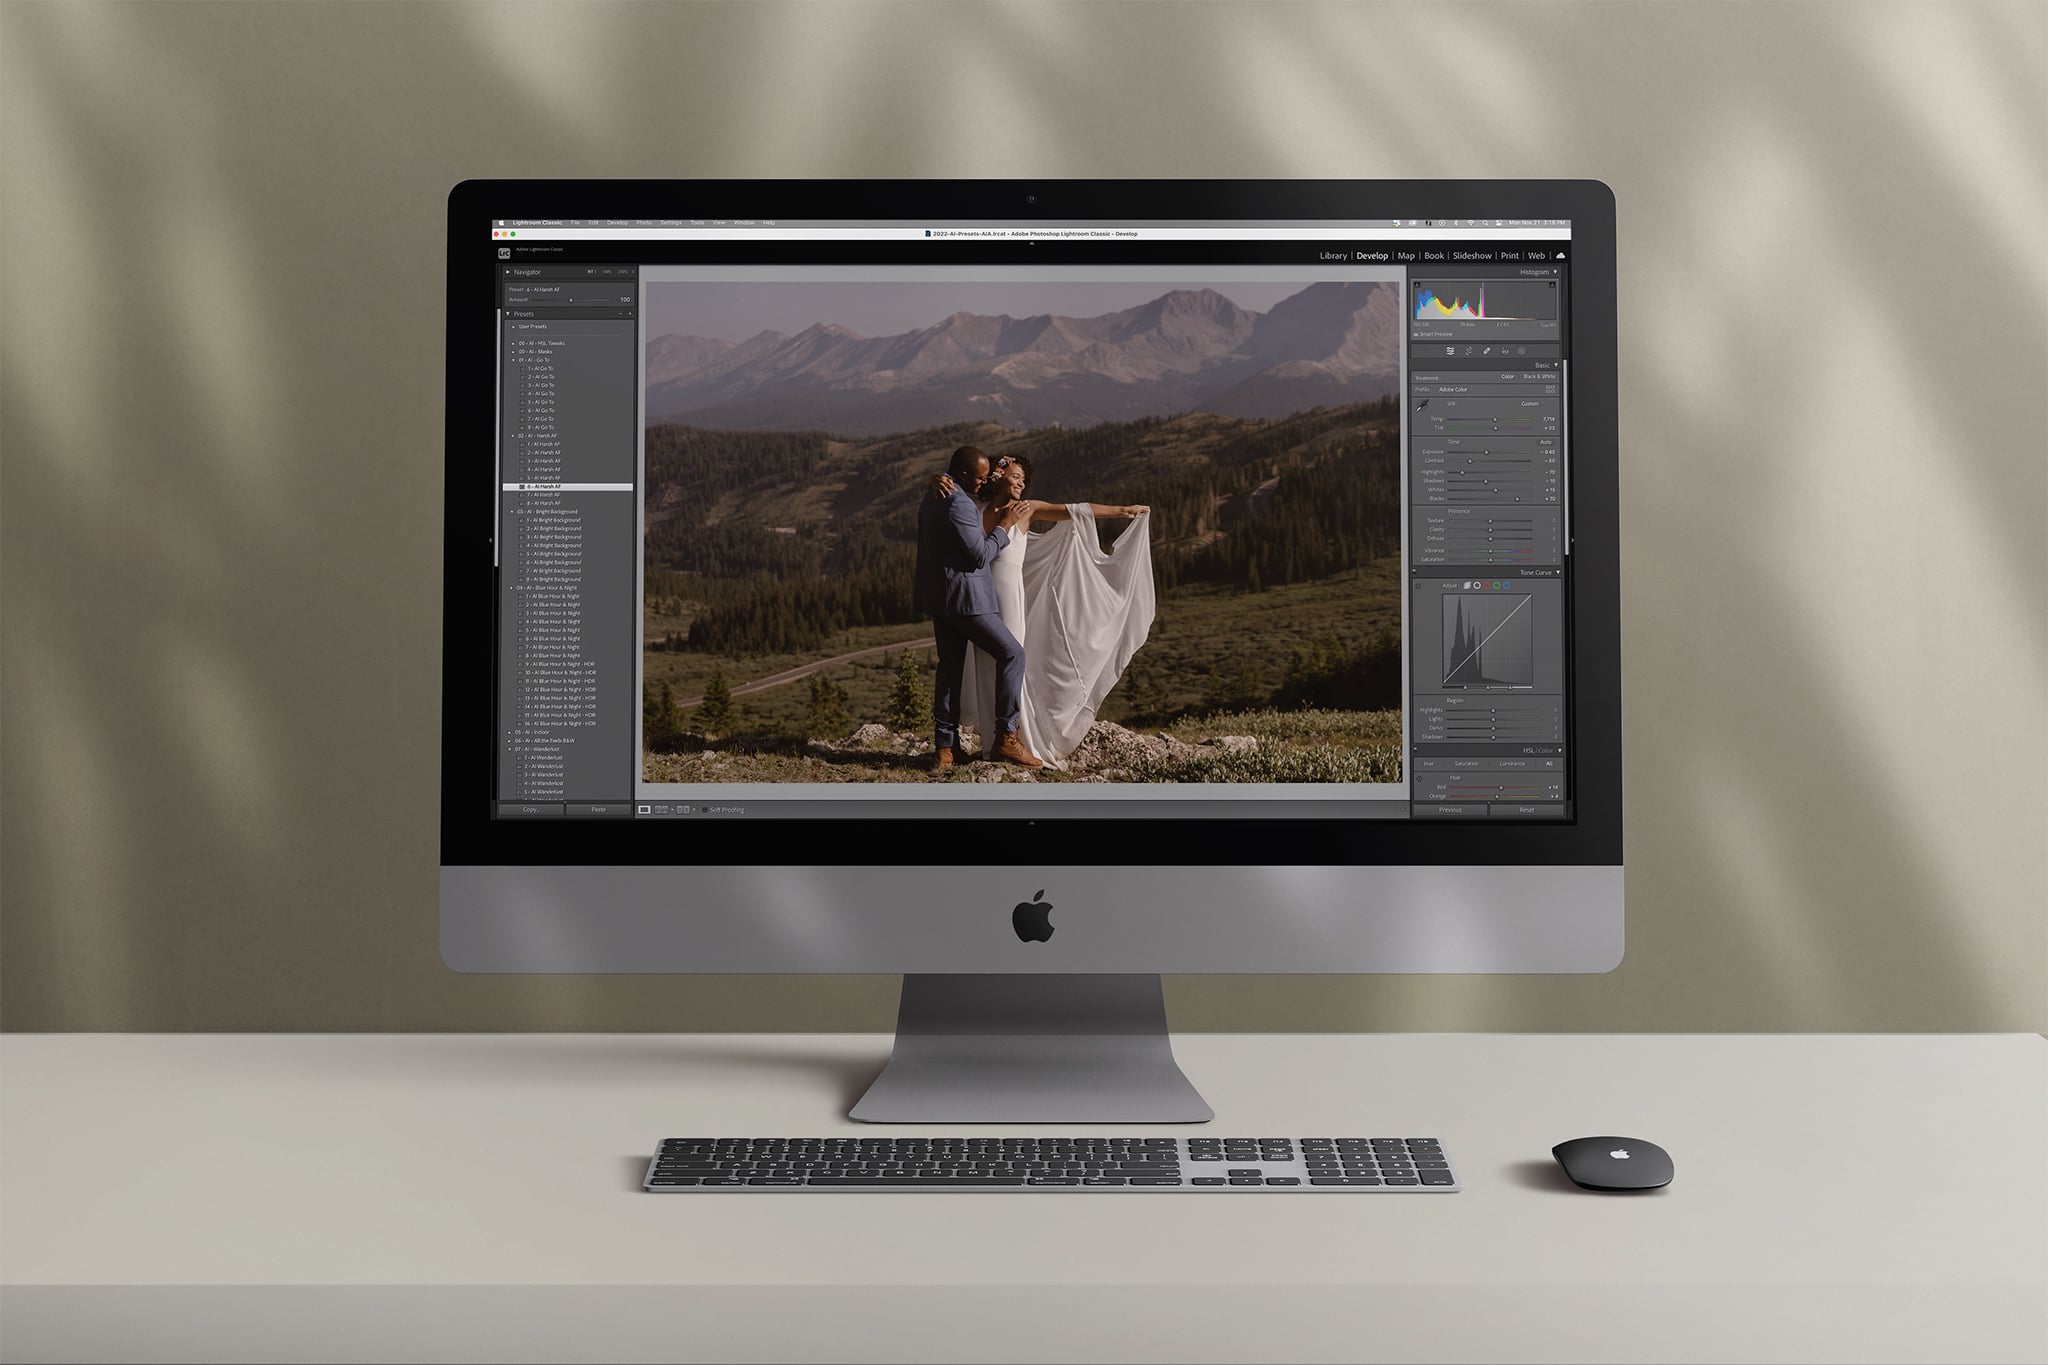
Open Lightroom, go to the “Develop” mode and make sure you reference photo is edited just the way you want and you love the skin tones—this is important because this image will be the base that you will visually “match” the rest of the images for the whole wedding to—so make sure you love it!
Hit “Shift + R” to open “Reference View.” (Just a quick FYI, tapping “D” goes back to the “Develop” mode and “G” goes back to the Library/Grid mode).
Once reference view is open, drag your reference image from the filmstrip of images at the bottom to the area that says “Drag & Drop an image from the film strip to set a reference photo.”
Once that is set, you should be viewing your chosen reference photo twice, in a side-by-side view.
Now you can navigate to an image in the filmstrip from a totally different part of the day. When you click on it, you’ll be viewing this photo directly next to the reference photo you set—meaning you can much more easily visually “match” the skin tones in that image to be consistent.
Pro Tip: Try zooming in on the skin tones in both the reference photo and the photo you’re editing, to get a close-up view of each, so it’s easier to see if you’re matching them correctly—and not getting distracted by the lighting in the rest of the image.
You can continue to edit an entire wedding just like this, in reference view (toggling the arrow keys or navigating with the filmstrip) or you can use the keyboard shortcuts to quickly switch between the develop mode “D” and the reference view “Shift + R” to keep checking your skin tones as you edit.
You can also switch out the reference photo for a different one by dragging it into the left side “image slot” of the reference view window.
Bonus pro tip: If you have several images couples that you’ve previously edited, are happy with those skin tones, and they read fairly consistent—create a “collage” of images as your “master” skin-tone reference photo. Be sure to make this collage with multiple diverse couples—remember that there are many different skin tones & undertones. Load this image into your LR catalog before you edit and use it to help keep skin tones consistent across your entire portfolio!
Want to learn more tricks to speed up your workflow and get more consistent with your editing? My online workshop and presets are built specifically to help you learn how to find your style, speed up your workflow, and find confidence and consistency. Click here to learn more.


